FREE RAINBOW CRAFT FOR KIDS PRINTABLE
It’s all about the rainbows in our house lately. Rainbow colours, rainbow bedroom, rainbow, rainbow, rainbow! Lucky for me I’m quite partial to the odd rainbow and I’m also pretty fond of having a little colour splashed throughout into our home.
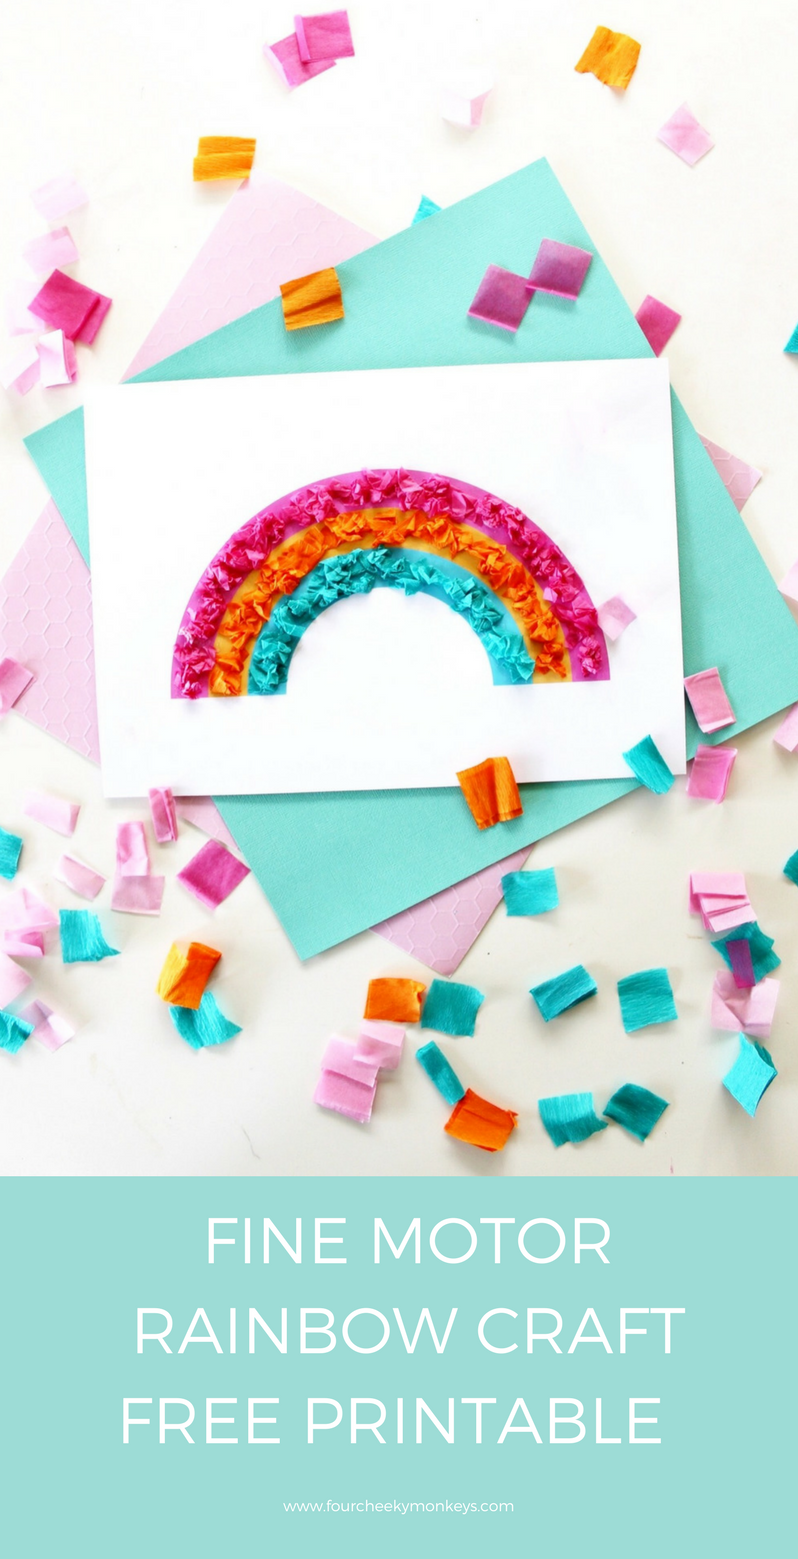
And with Indi becoming more rainbow obsessed by the day, I’m constantly thinking up fun things for her to create and do at home. One activity we recently did together which turned out super cute was this extremely easy Rainbow Craft activity. It was easy to set up and is fabulous for developing fine motor skills in children.
HOW TO MAKE THE TEXTURED RAINBOW ART WORK
YOU NEED:
- Crepe paper or tissue paper
- A glue stick – I would avoid ‘runny’ glue as it will make the paper warp.
- A copy of the printable you can download for free at the end of this post (note this is for personal use only and the file must not be reproduced or resold).
- If you want to frame it for artwork, I would suggest printing it on higher quality paper and adjusting your printers settings to the best quality you can (you can do this by adjusting the ‘media and quality’ settings).
PROCEDURE:
- Print out rainbow.
- Cut crepe paper or tissue paper into 1 inch squares (or approx 2 1/2 cm x 21/12 cm).
- MODEL to your child how to roll the paper into crumpled balls (show them how to use their finger tips to crumple and roll the paper – not too small though or it will take them FOR EVER).
- Glue one section at a time until complete.
- Display as desired.
You can see Indi’s face in the image below where she had a moment of “I think this could take a while” so I stepped in to help her complete it. It would make a great family craft activity though, great for bonding as you create together.
STYLE YOUR RAINBOW CRAFT:
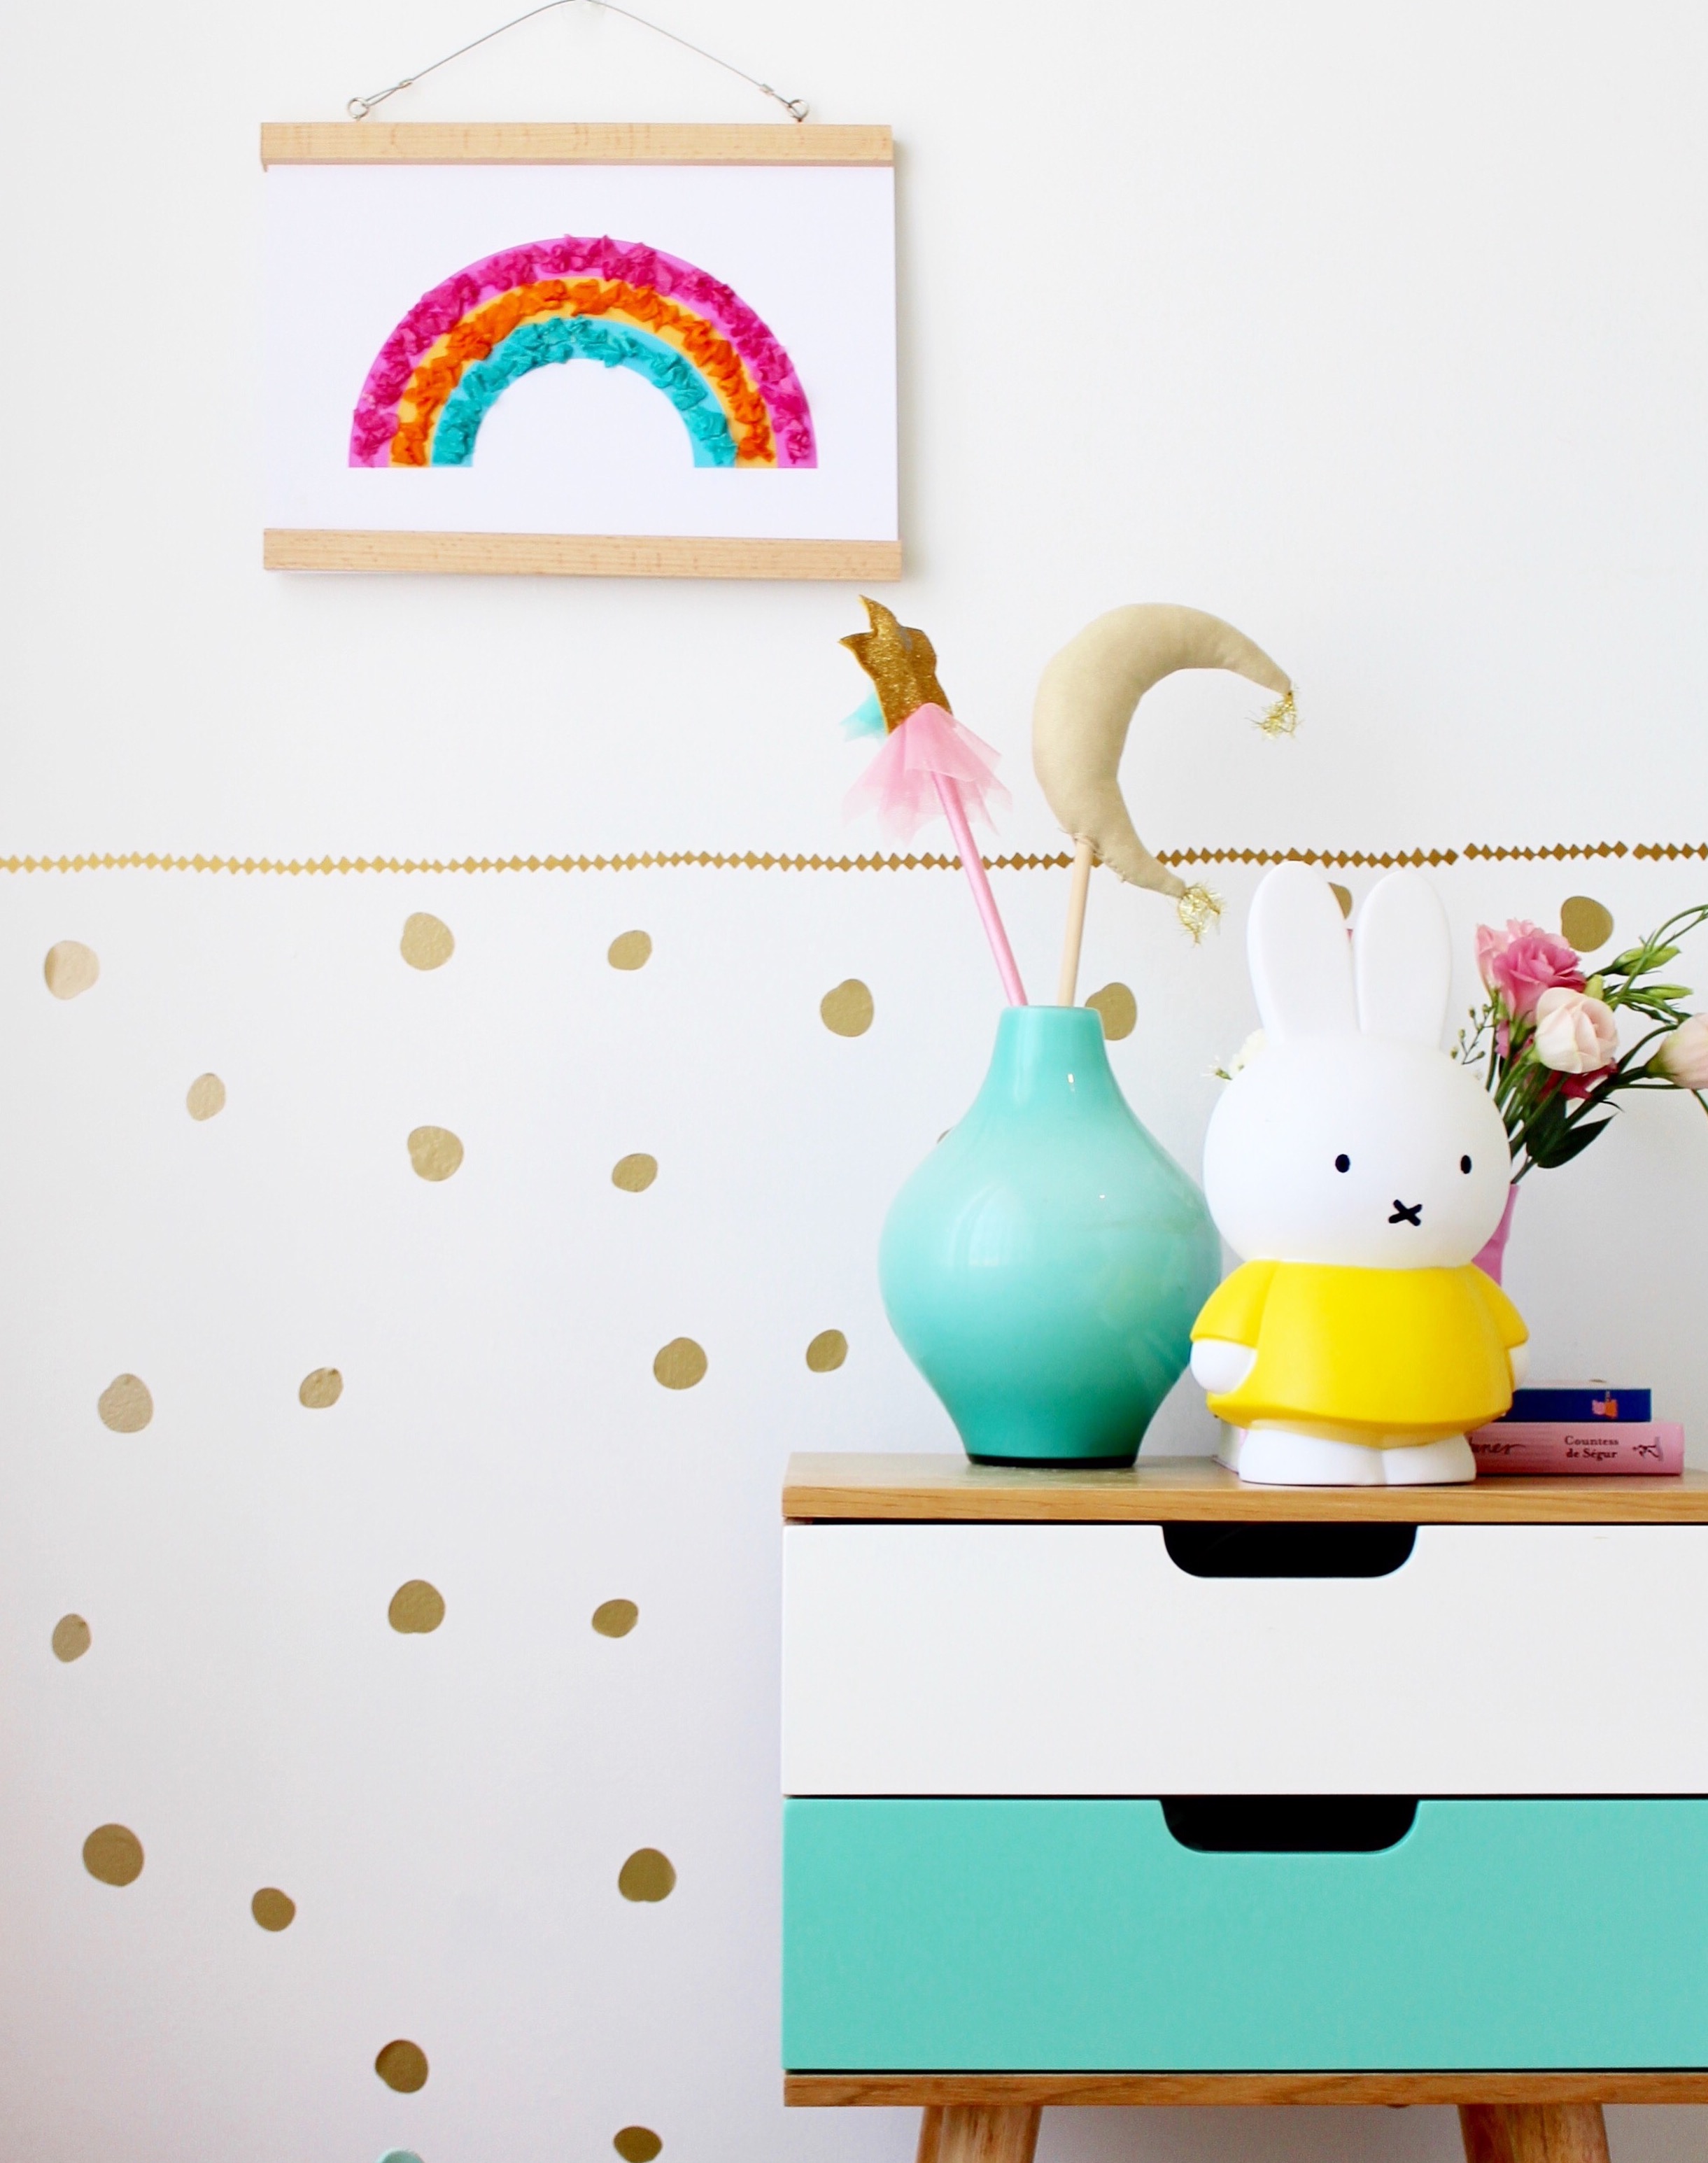
This artwork looks great in a child’s bedroom or playroom. The textured element can add more visual interest into a child’s room. When displayed, this artwork can also make a great conversational piece.
Some display ideas include –
- Use string and little pegs to display in ‘washing line’ format along with other art.
- DIY an old frame – paint a cute colour (minus the glass) and blu tac the artwork on the wall inside the frame.
- Make a little gallery with wash tape (with other prints or artwork).
- Using a wooden hanger – I love these as you can change artwork on a regular basis with ease (no broken or ripped up finger nails).
I love how Indi’s rainbow artwork turned out. The A4 size artwork looks super cute. I do think I may make a bigger one with all the kids in the future and display the art in the playroom though.
For other art ideas you can create with your little people you may like this post HERE. Or for more early childhood ideas you may like to check out my Teachers Pay Teachers store HERE.
Oh, and don’t forget to download your free rainbow printable below.
GIMME MY FREE RAINBOW CRAFT PRINTABLE
NOTES ON THE PRINTABLE: The rainbow print is in PDF format and has been made in poster size. All you need to do is adjust your printer’s settings to create any size you like up to poster size (A4, A3 or A2). To print larger than A4, you may need to visit a print store. A poster size print (A2) usually costs around $10 on high quality paper. If your little one is still a bit young for this activity, you can simply frame it for now (it looks gorgeous as a stand alone print) and craft it in the future!
Thanks for stopping by, love Ness X


