Chalkboard house – a simple step by step tutorial!
With the festive season looming, today I thought I would share a simple DIY that I made for my children last year – which they LOVE as much as I do. It is quick, easy and a very cost effective way to create a very cool homemade gift with a difference for the little people you love.
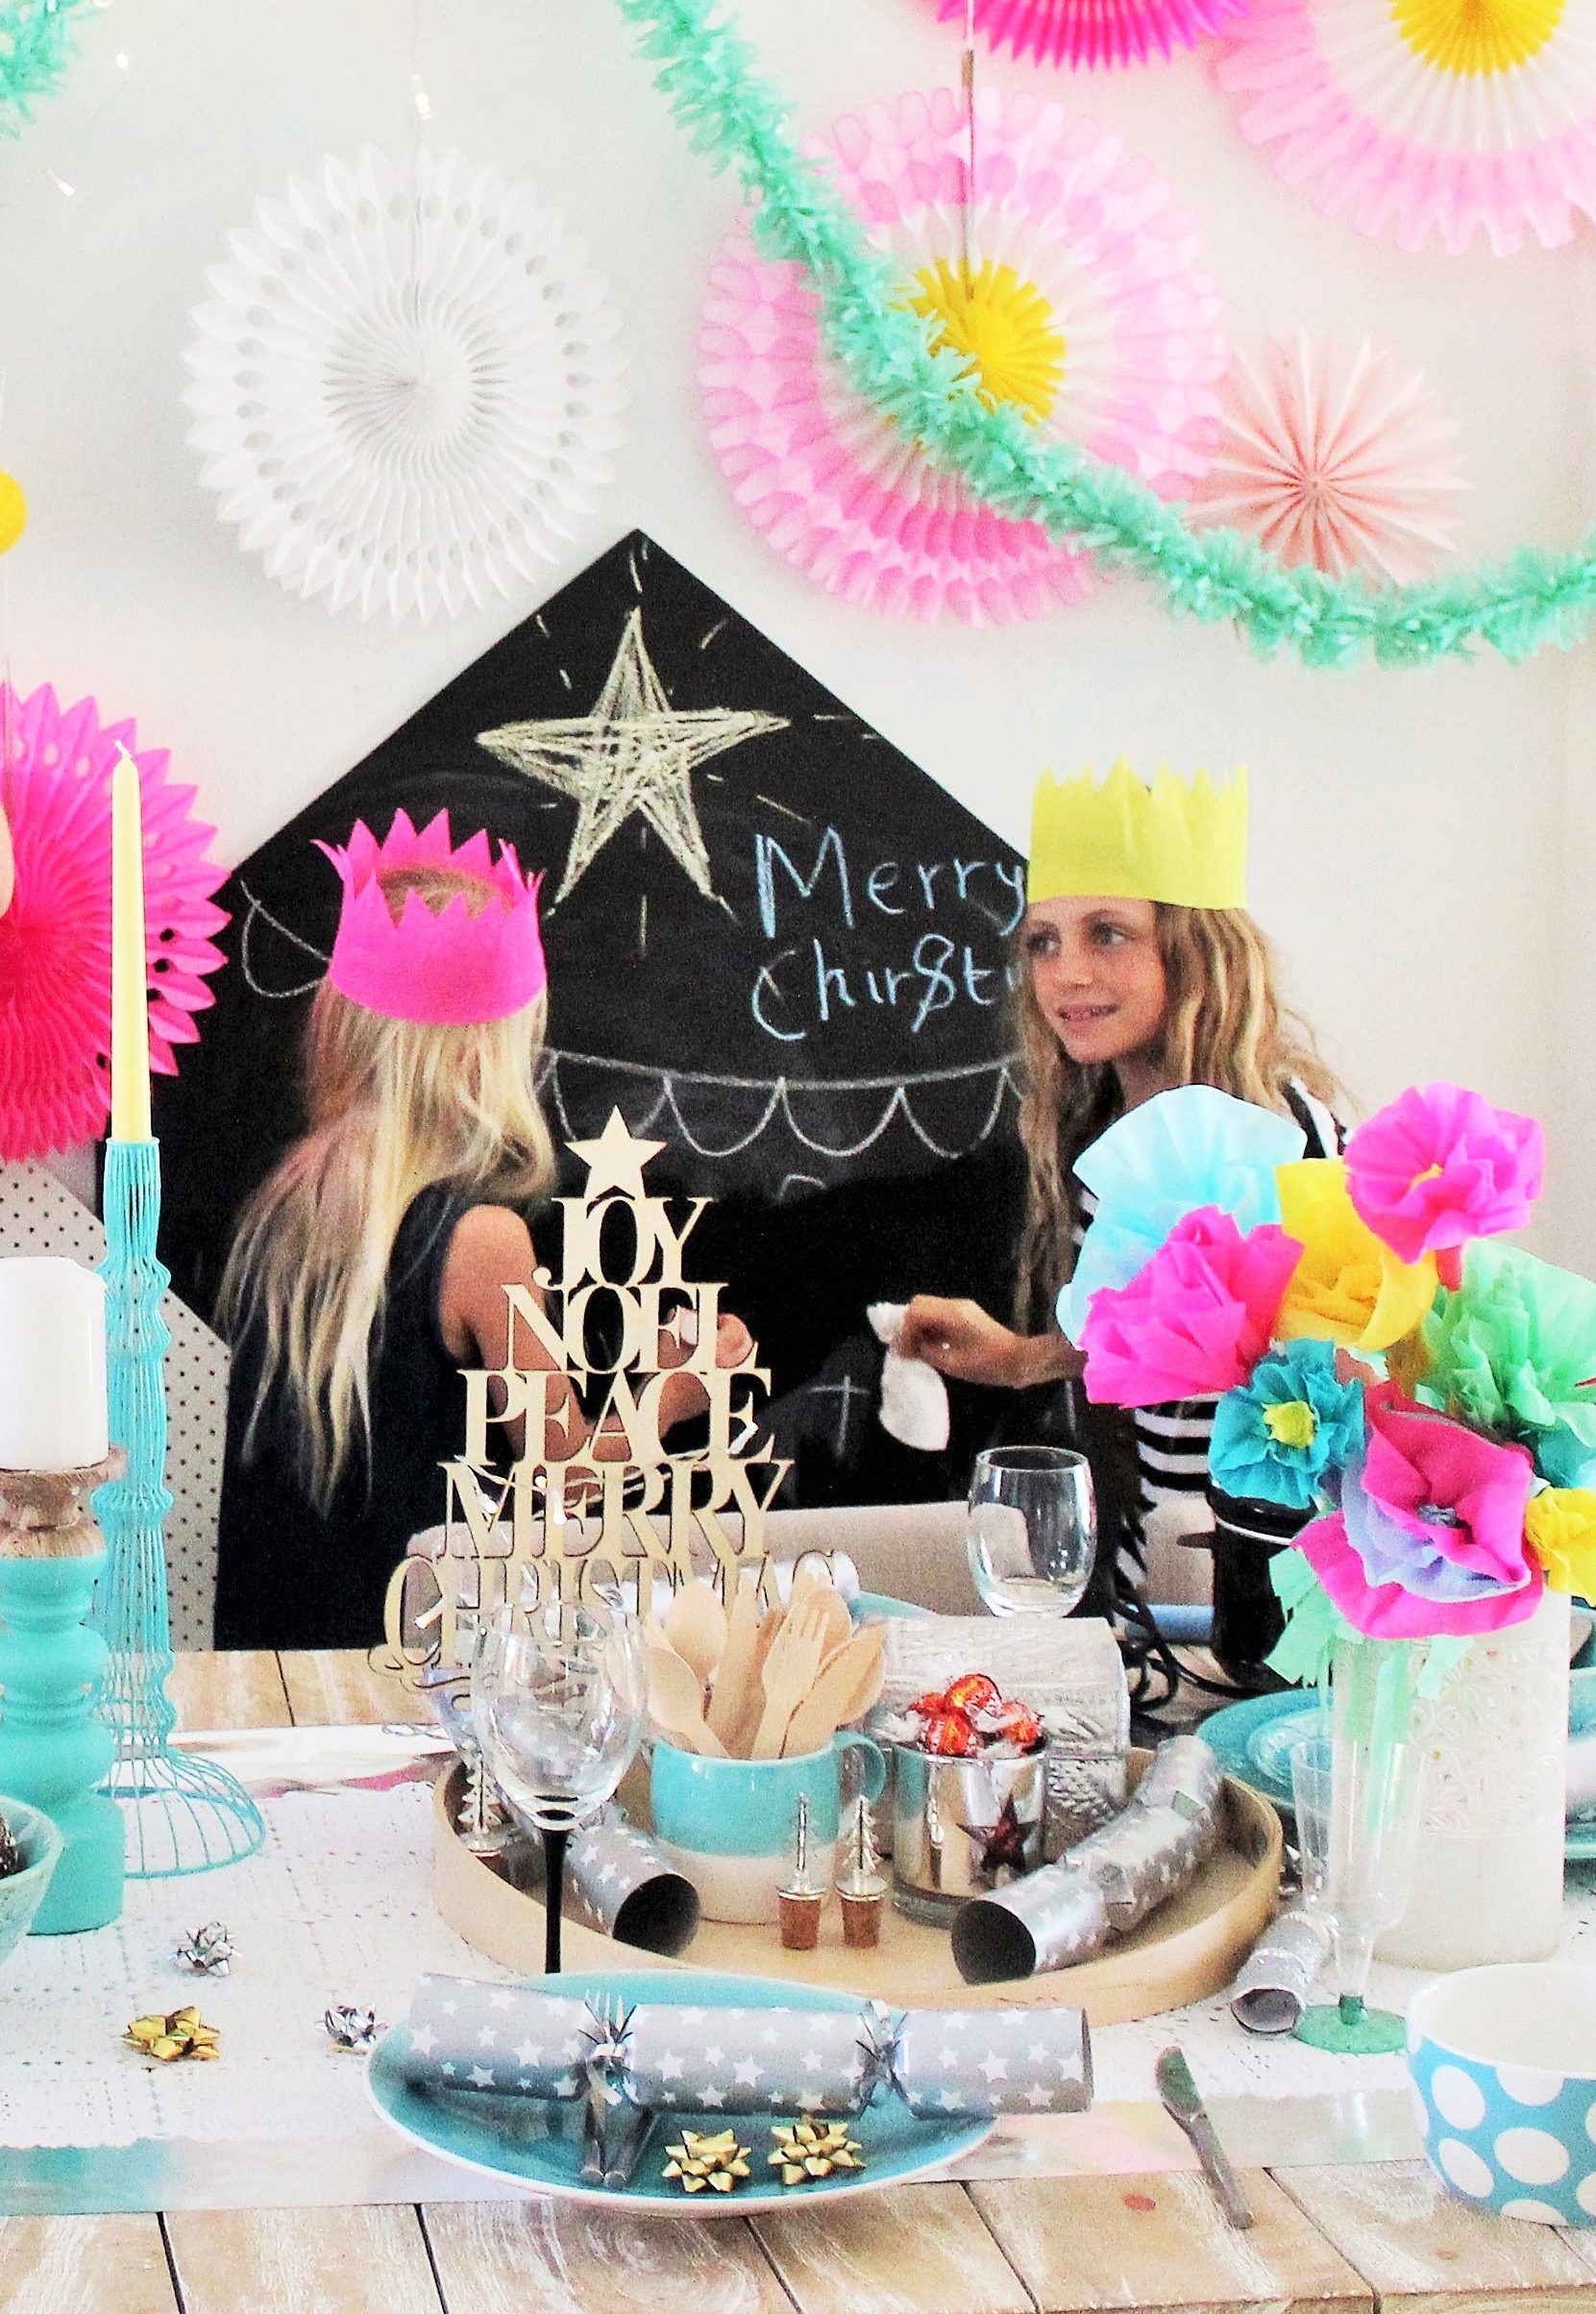
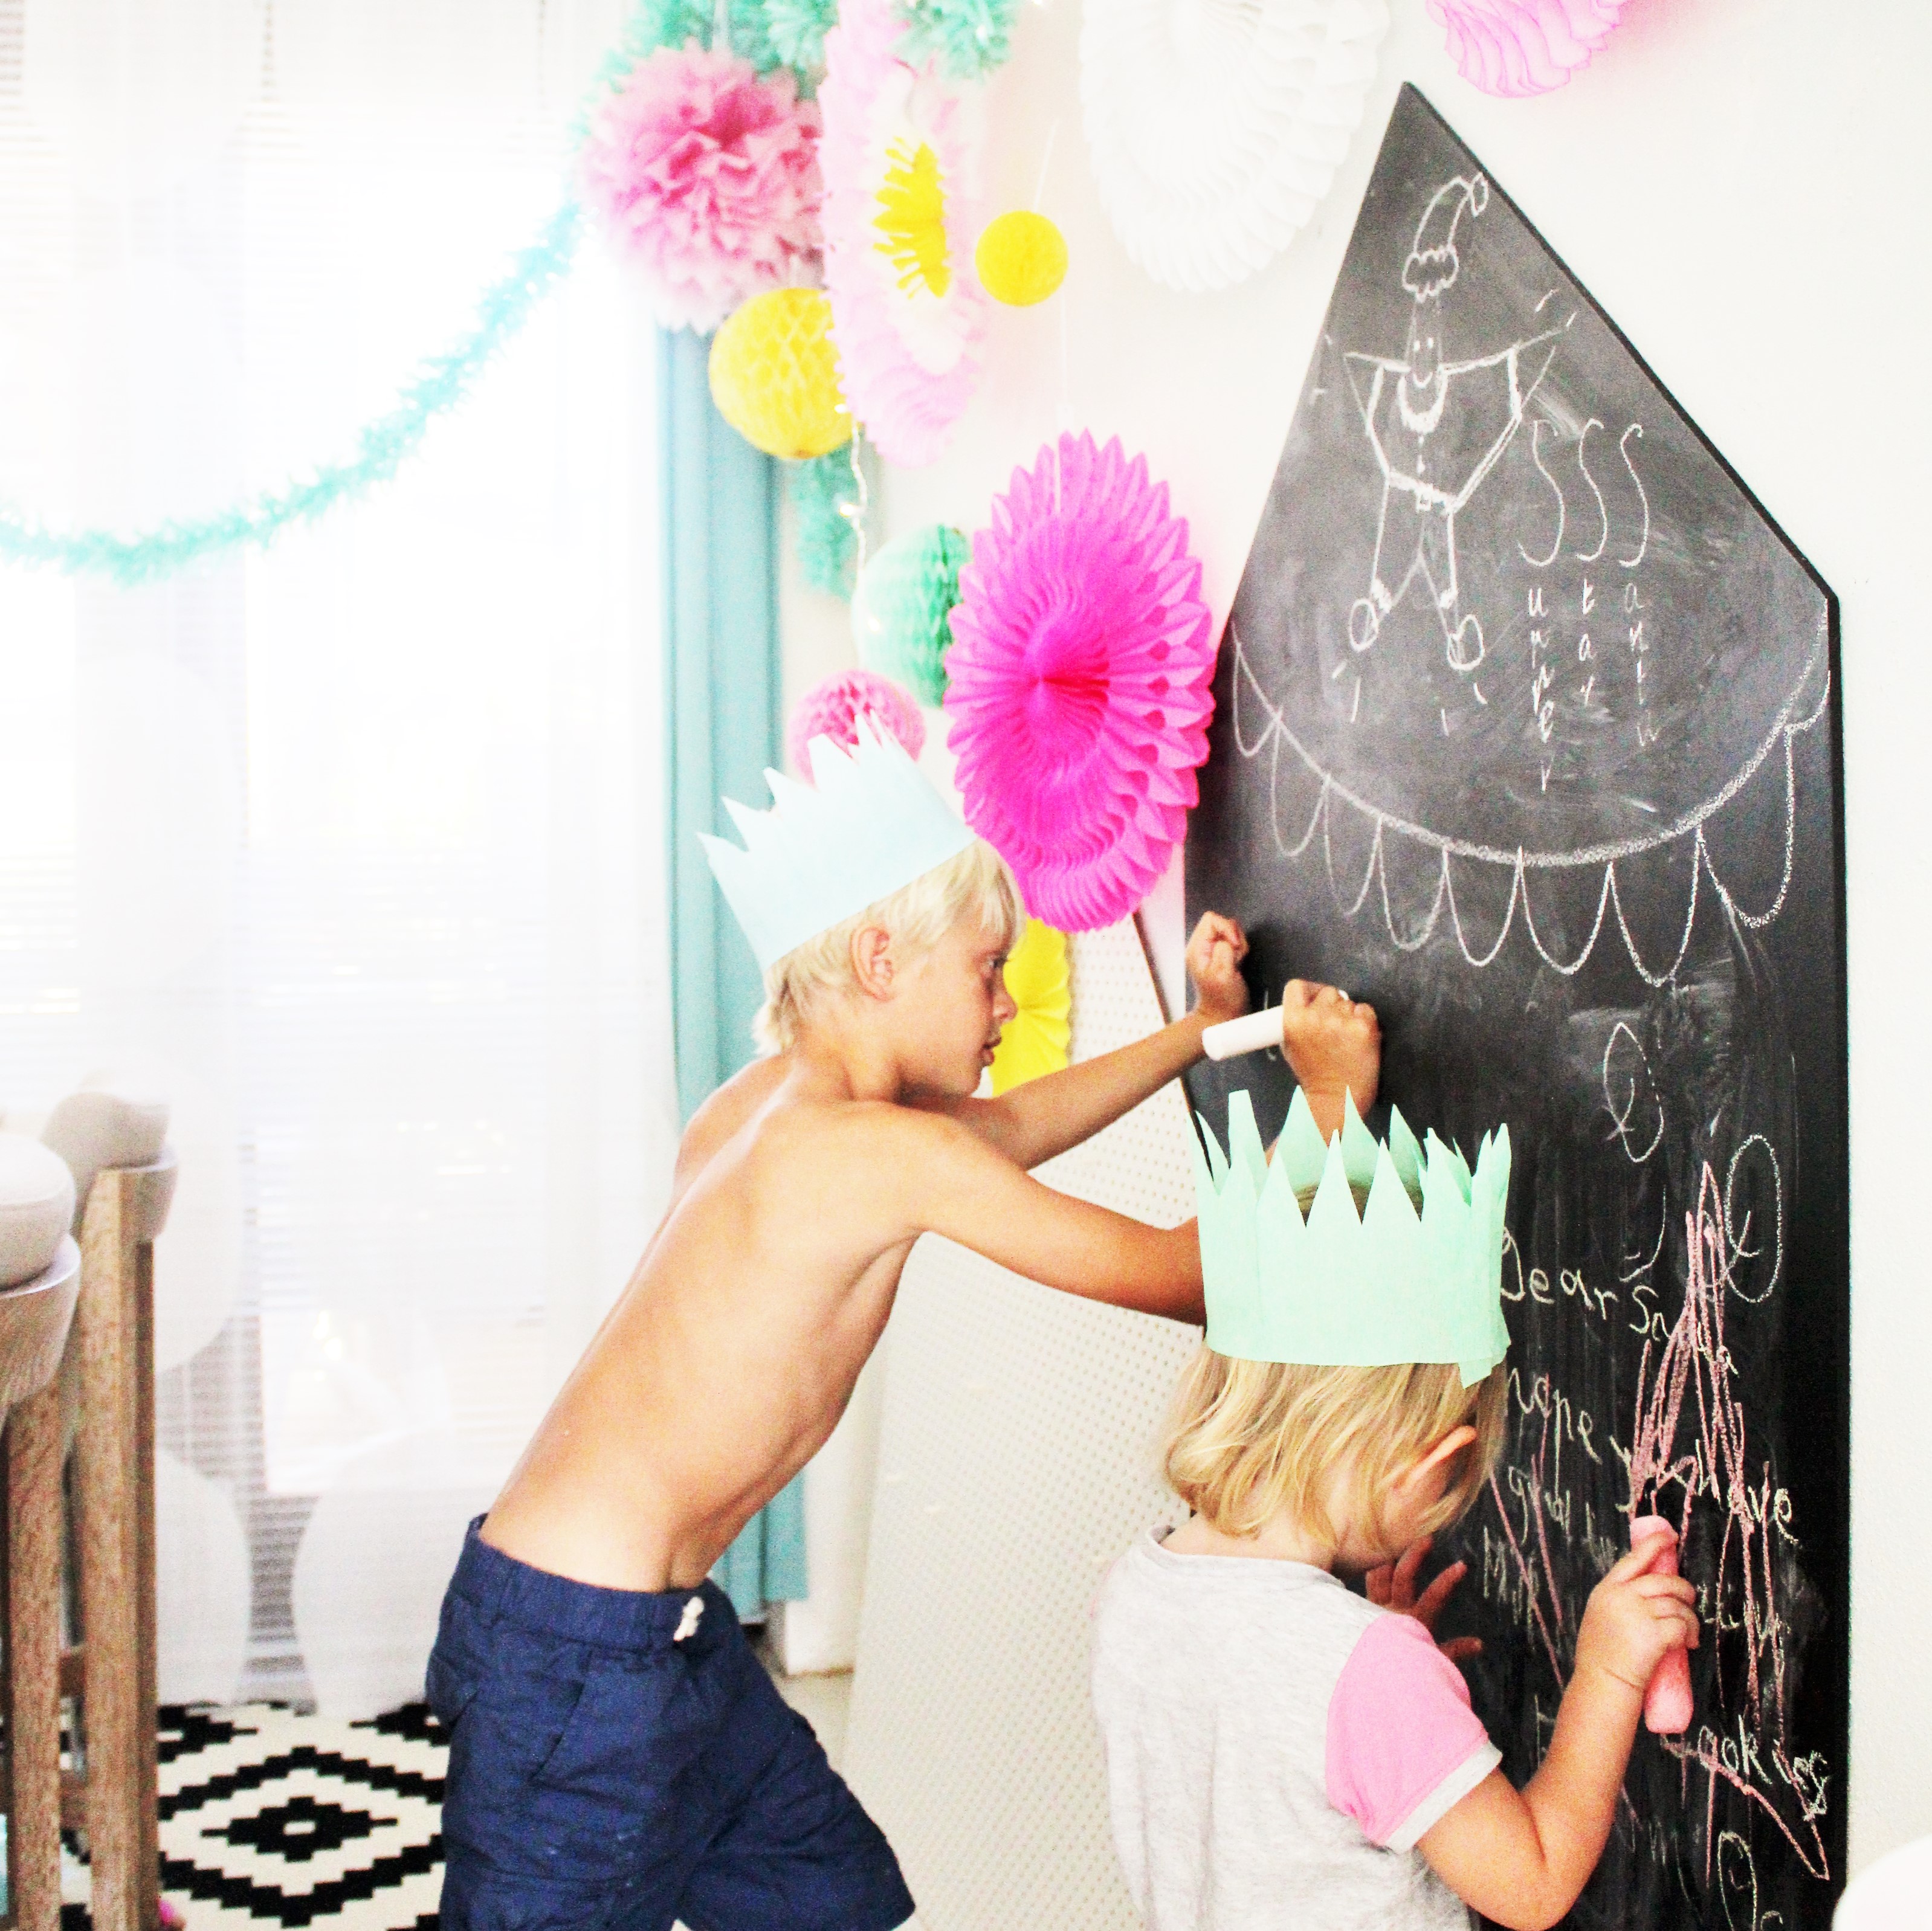
And this super simple DIY chalkboard house not only looks great but it makes for an excellent play zone for children to get creative while developing both fine motor, writing (or pre-writing) and drawing skills.

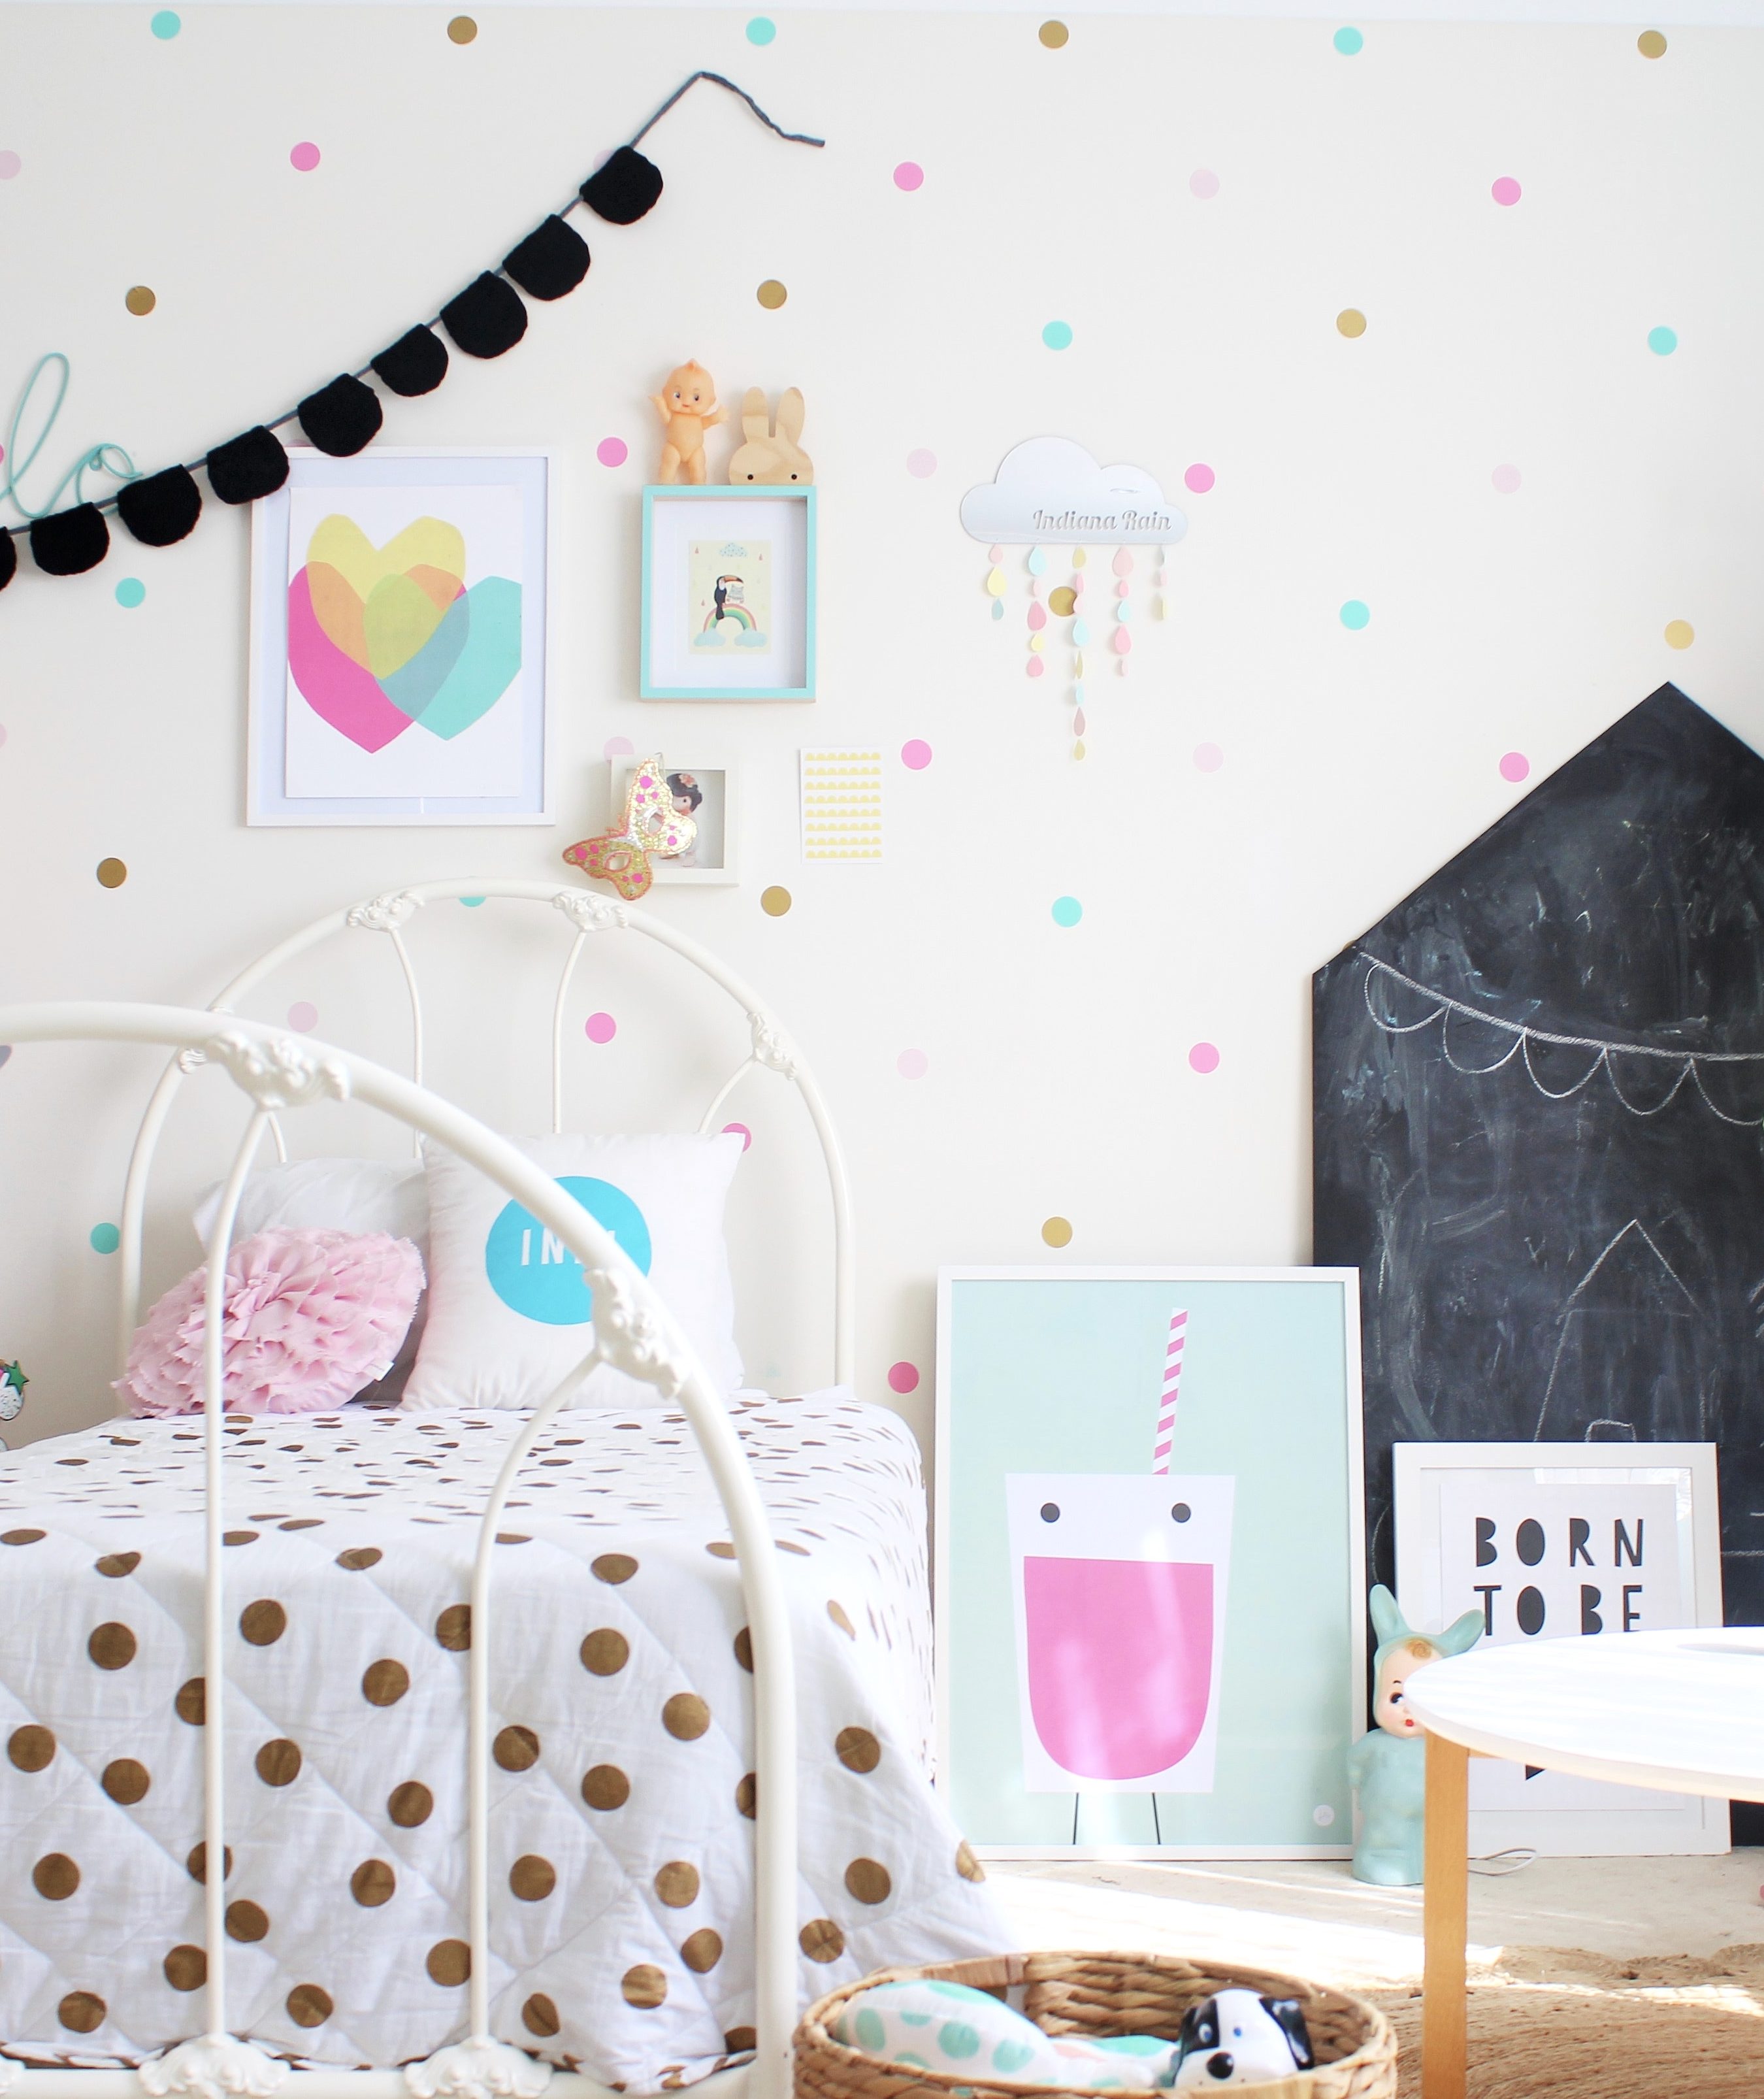
Ours has been used for writing Christmas notes to santa, it has moved in the kids playroom for creative play and it has also been in both the girls’ AND my little boy’s bedroom for sight word practise. So versatile!

While both functional and on trend in the world of children’s decor, the best part is that this DIY chalkboard house would have to be one of the easiest DIY’s I have ever done.
Materials and Equipment:
- 1 large piece of masonry board from a home depot store (such as costco or bunnings). I used a rather lightweight piece of board, strong enough not to bend and break, but light enough to maximise safety.
- Black board paint
- Paint roller
- Jig-saw (always use power tools with safety)
Procedure:
- Using either a piece of string or a large leveller for a straight line, mark your house roof line with pencil. The easiest way to do this is to find and mark the centre point on the top of the board, then make two marks down the board on either side.
- Use a leveller or a ruler to join each side mark to the top (creating a triangular roof shaped point)
- Use the jig-saw and carefully cut along the lines. If need be, use some sand paper to smoot out the edges.
- Dust completely then paint using blackboard paint.
- Before using make sure you scour the blackboard. This will ensure the first marks or drawings made do not permanently mark the board.
The biggest outlay for this would have to be the chalkboard paint but the bonus is, once you have your chalkboard paint, there are so many uses for it! I still have a few ideas of how I’m going to use my left over paint, so make sure you check back again if you want to see – or you can subscribe to the blog so you won’t miss out on any future DIY’s.
For more simple DIY’s you may like this post here
Happy DIY’ing,
Love ness X
Note – Not recommended for children under the age of four. To maximise safety ensure board is placed in a secure place OR fasten to the wall OR make a little one (just dotting the i’s and crossing the t’s here 😉 )


Hi!
I love this idea and just wondered if you could tell me the dimensions of your chalkboard.
Thanks!
Hi Alyssa, thank you.
I don’t have the exact dimensions, but it was approximately 1 metre wide, and 1.4 ,metres from the highest centre point xx