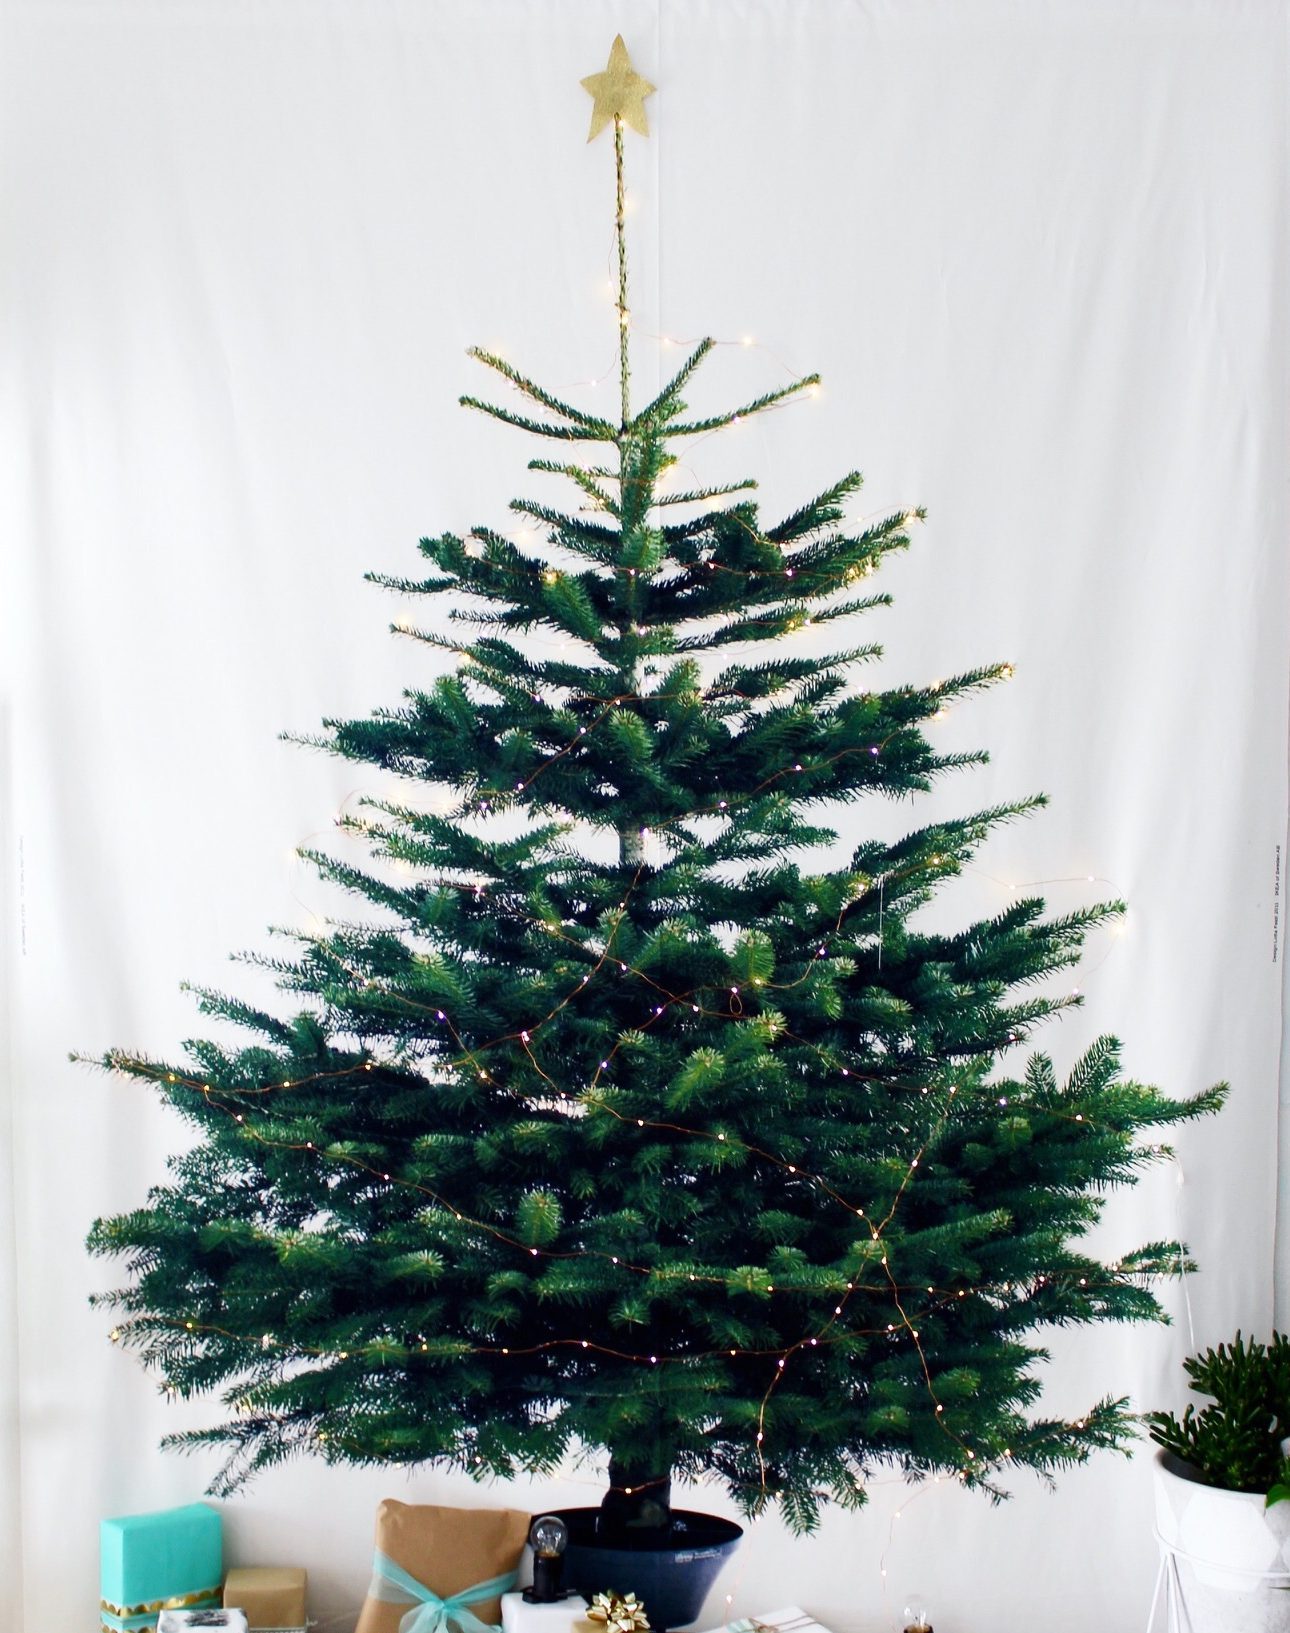
So I remember last Christmas when I spotted the IKEA Christmas tree fabric, I was very tempted to buy it but wasn’t really sure how or where I would hang it. This year, I decided to give it a go and I absolutely love the result.
Best part is (hang on, there are two best parts)…
Number one – sooooo easy to make!
Number two – considering the impact it creates it didn’t really cost that much (total cost for wall hanging – approx $36 dollars – excluding decorations).
And three – (ok three best parts) it is the perfect option for those with limited floor space (hello tiny house hunters – kind of addicted to that show).
So enough of that, here’s how to do it yourself –
Materials and equipment needed:
- Christmas tree fabric – cost $12.50 per metre, approx 2 metres in length ($25)
- 2 x pieces of 1.8 metre dowel or you can find a nice relatively straight branch or piece of drift wood – approximately $5 each for dowel
- Rope or twine to hang – approximately $1 – $2
- Decorations as desired – save money and use existing, make your own or update and buy a few new ones.

Procedure:
- Once you have all equipment needed – Make a fold approximately 6cm at the base and top of the Christmas Tree fabric and pin into place.
- Sew top and bottom folds using a basic stitch.
- Insert dowel.
- Attach twine or rope to the top ends of the dowel to hang.
- Decorate as desired by hand sewing decorations in place (If using fairy lights – ensure they DO NOT omit heat and NEVER leave on unattended).
- Enjoy!

TIPS for the tipsters –
For best impact you will need to hang this quite high due to the size. I used a strong 3M shield hook which has held the weight perfectly.
If the thought of sewing freaks you out, I’m pretty sure a few big blobs of blutac should hold it in place – just watch the weight of the decorations.
For a minimal look, try a bare tree (no decorations). It gives a nice, clean, scandi look.
Or if you love a bit of colour, coordinate the tree with your home decor and attach a few baubles here and there in your existing colour scheme.
This type of tree is also great if you go away for Christmas or have a holiday home (lucky you, so jelly!) but don’t or can’t drag around a full sized Christmas tree.
As for mine, it still needs a little tweaking and I will upload a better image once it’s all done. But for now, this will totally do!

Stay tuned for a few more Christmas posts, or if you like subscribe to the blog and get them delivered straight to your inbox!
Thanks for stopping by,
Love ness X
NOTE: never leave lights on unattended, check if they omit and heat and if so, keep away from any flammable materials.


What a great idea!! ?
Loving this ☺️
Thanks Kayleigh, was so so easy! Let me know if you make one, would totally LOOOVE to see yours X
I love the impact… I’m no sewer, do you think a hot glue gun would work???
Possibly, or you could try using adhesive velcro strips on either side of the fabric in replace of sewing, that should give it more of a clean result, without glue marks showing through. I would still recommend hand sewing a few stitches in about three places just to really secure it. X
Love this so much – i need a skinny tree to fit in the space im thinking ha ha!
Thanks Rosh X
Brilliant idea!