Watermelon Costume
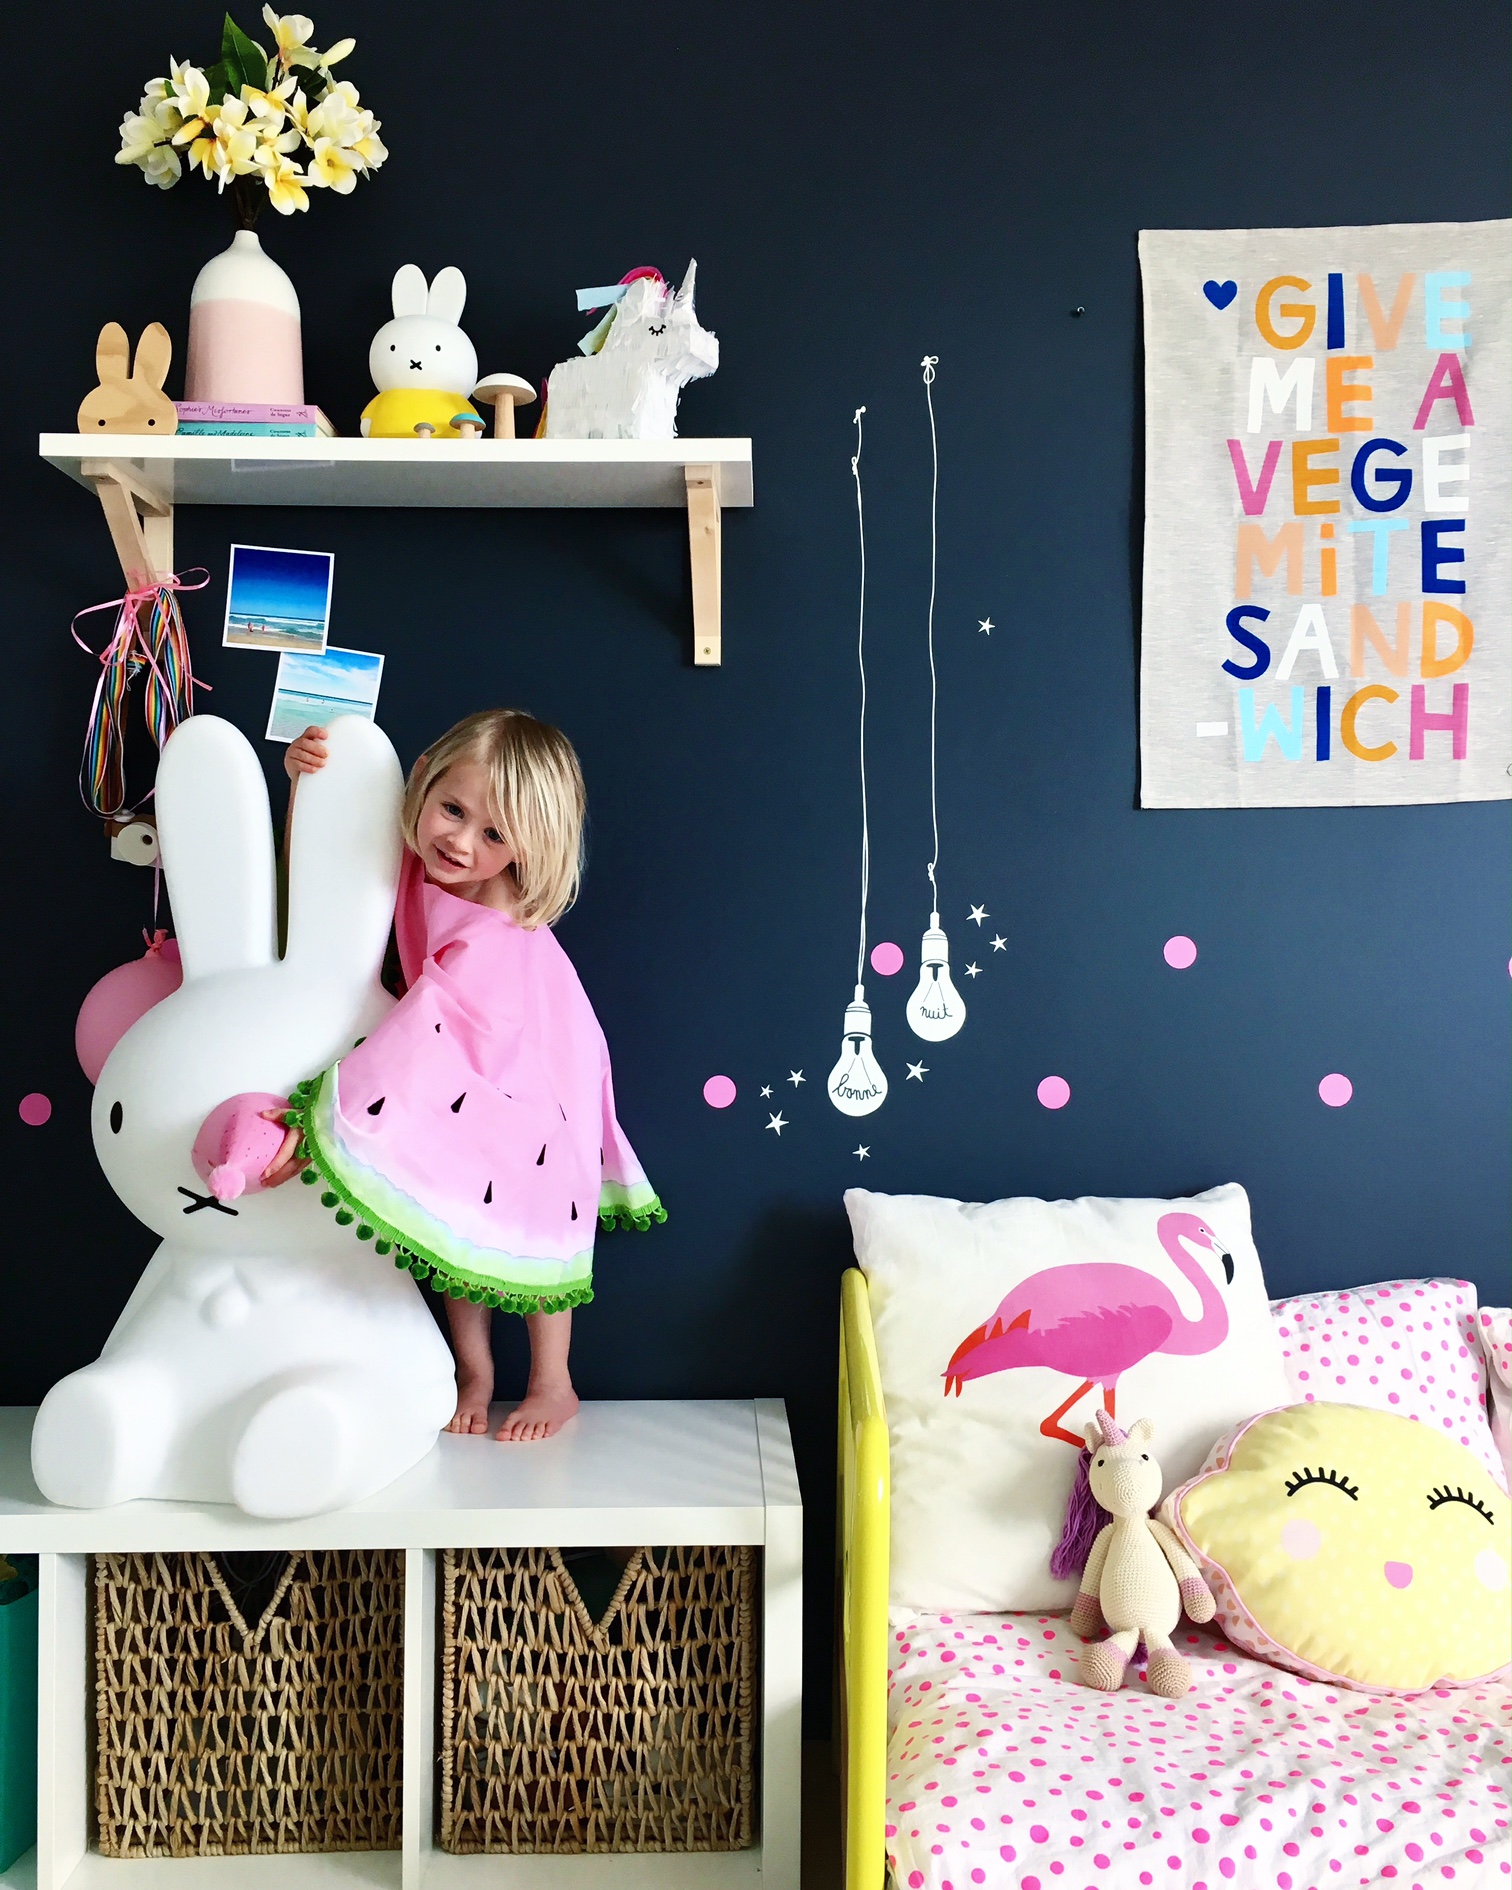
Apart from pink and Peppa Pig, my two year old Indi’s all time fave would have to be WATERMELON!
If I took my eyes off her for a second during our food shopping trips, she would somehow manage to get to the watermelon, breaking through the plastic covering to start her little feast – much to my dismay when I had to apologetically pass a half mangled watermelon over to the shop keeper EVERY. SINGLE. TIME.
But her love for this juicy, summery fruit has not wavered and anything and everything that is watermelon, is quickly followed by her little voice telling me ‘mummy, I like-a da watermelon!’
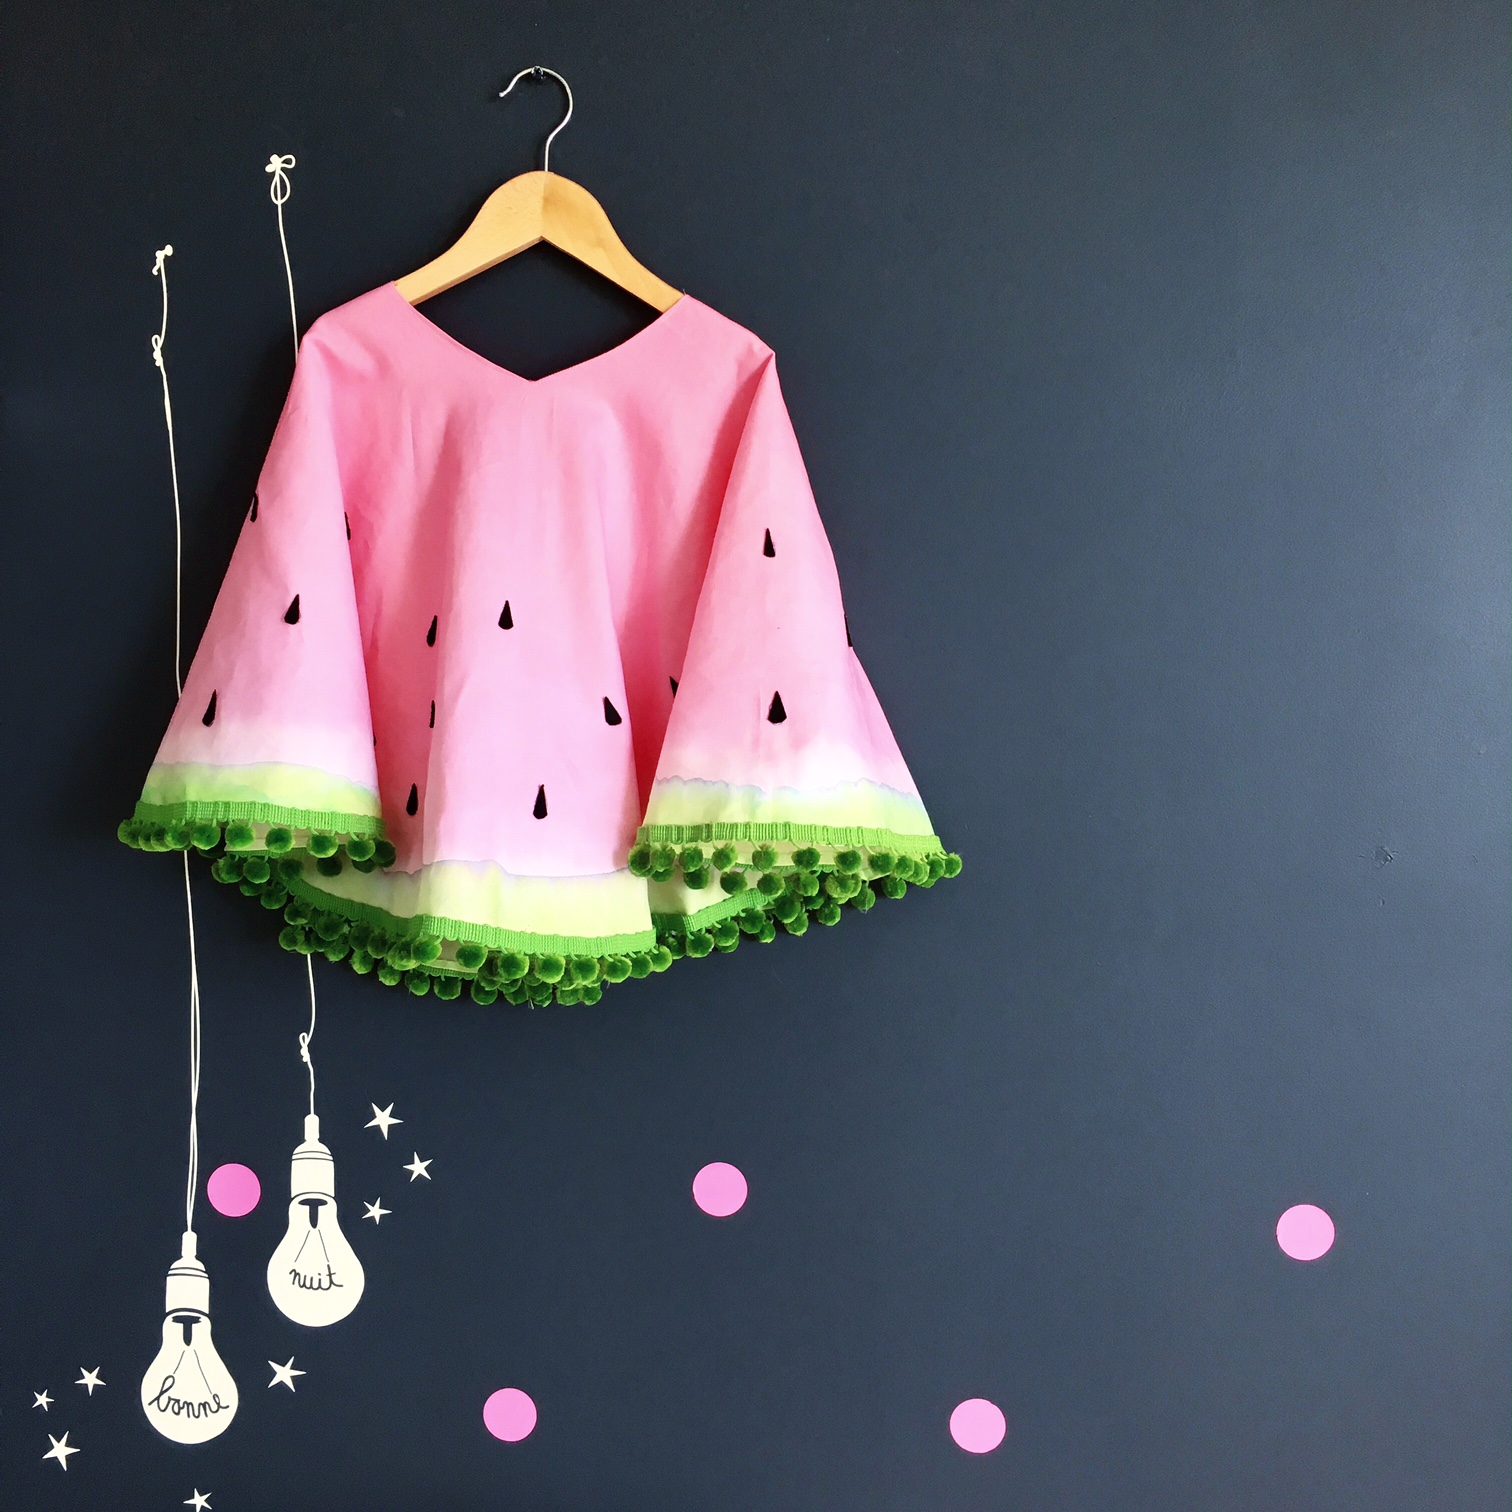
With this in mind, I thought I’d try a little watermelon DIY costume for Indi, perfect for a toddler friendly halloween costume. My original idea was dress her up as a watermelon pinata, double fun! But, anatomically speaking, it just wasn’t going to work, not this year anyway. So, I decided to make my own version of a watermelon roundie – partly inspired by, well, the watermelon roundie, and partly inspired by a very cool and simple DIY beach throw I recently saw on pinterest.
To keep costs down (hello chaotic birthday season that is fast approaching) I used whatever I had at home to make a cheap, easy, DIY watermelon costume. Including food colouring as fabric dye!
So, here goes, with a few ‘progress shots’ of the watermelon costume being made.

Materials:
- White fabric (an old sheet is perfect) or cheap cotton fabric approx $4.00 per metre.
- Pom Pom fringe – I had mine already in my DIY box, but you can buy it from eBay really cheap.
- Black felt – only need a little, or you could use a black marker (just make sure it does not bleed into the fabric).
- Hot glue gun and glue
- Fabric dye – or save costs and use food colouring!
Procedure:
- Cut the square into a circle shape. Easiest way to do this is fold the square of fabric into half, then half again. Then use a piece of cord or sting attached to a pen/pencil (what ever you have) to create a makeshift protractor.
- Mark the fabric, then cut.
- Using the same method, cut a small hole in the corner of the fabric and test out for size (Indi was not impressed that her costume very little resemblance to a watermelon).
- Once the neck/head hole is cut, dye the fabric. TEST COLOUR FIRST!
- First do the red / pink and make sure you leave enough space to allow for the colour to absorb – mine was meant to have a nice white edge between the two colours but it did not allow for enough colour run. NOTE: colour will dry MUCH lighter!
- Once first colour is dry, do the second colour – green.
- Wait for all to dry.
- Sew around the edges, then attach pom pom fringe.
- Cut out black seeds from felt (or use a permanent marker) and attach, starting at base, and ,moving upwards.
- Done!
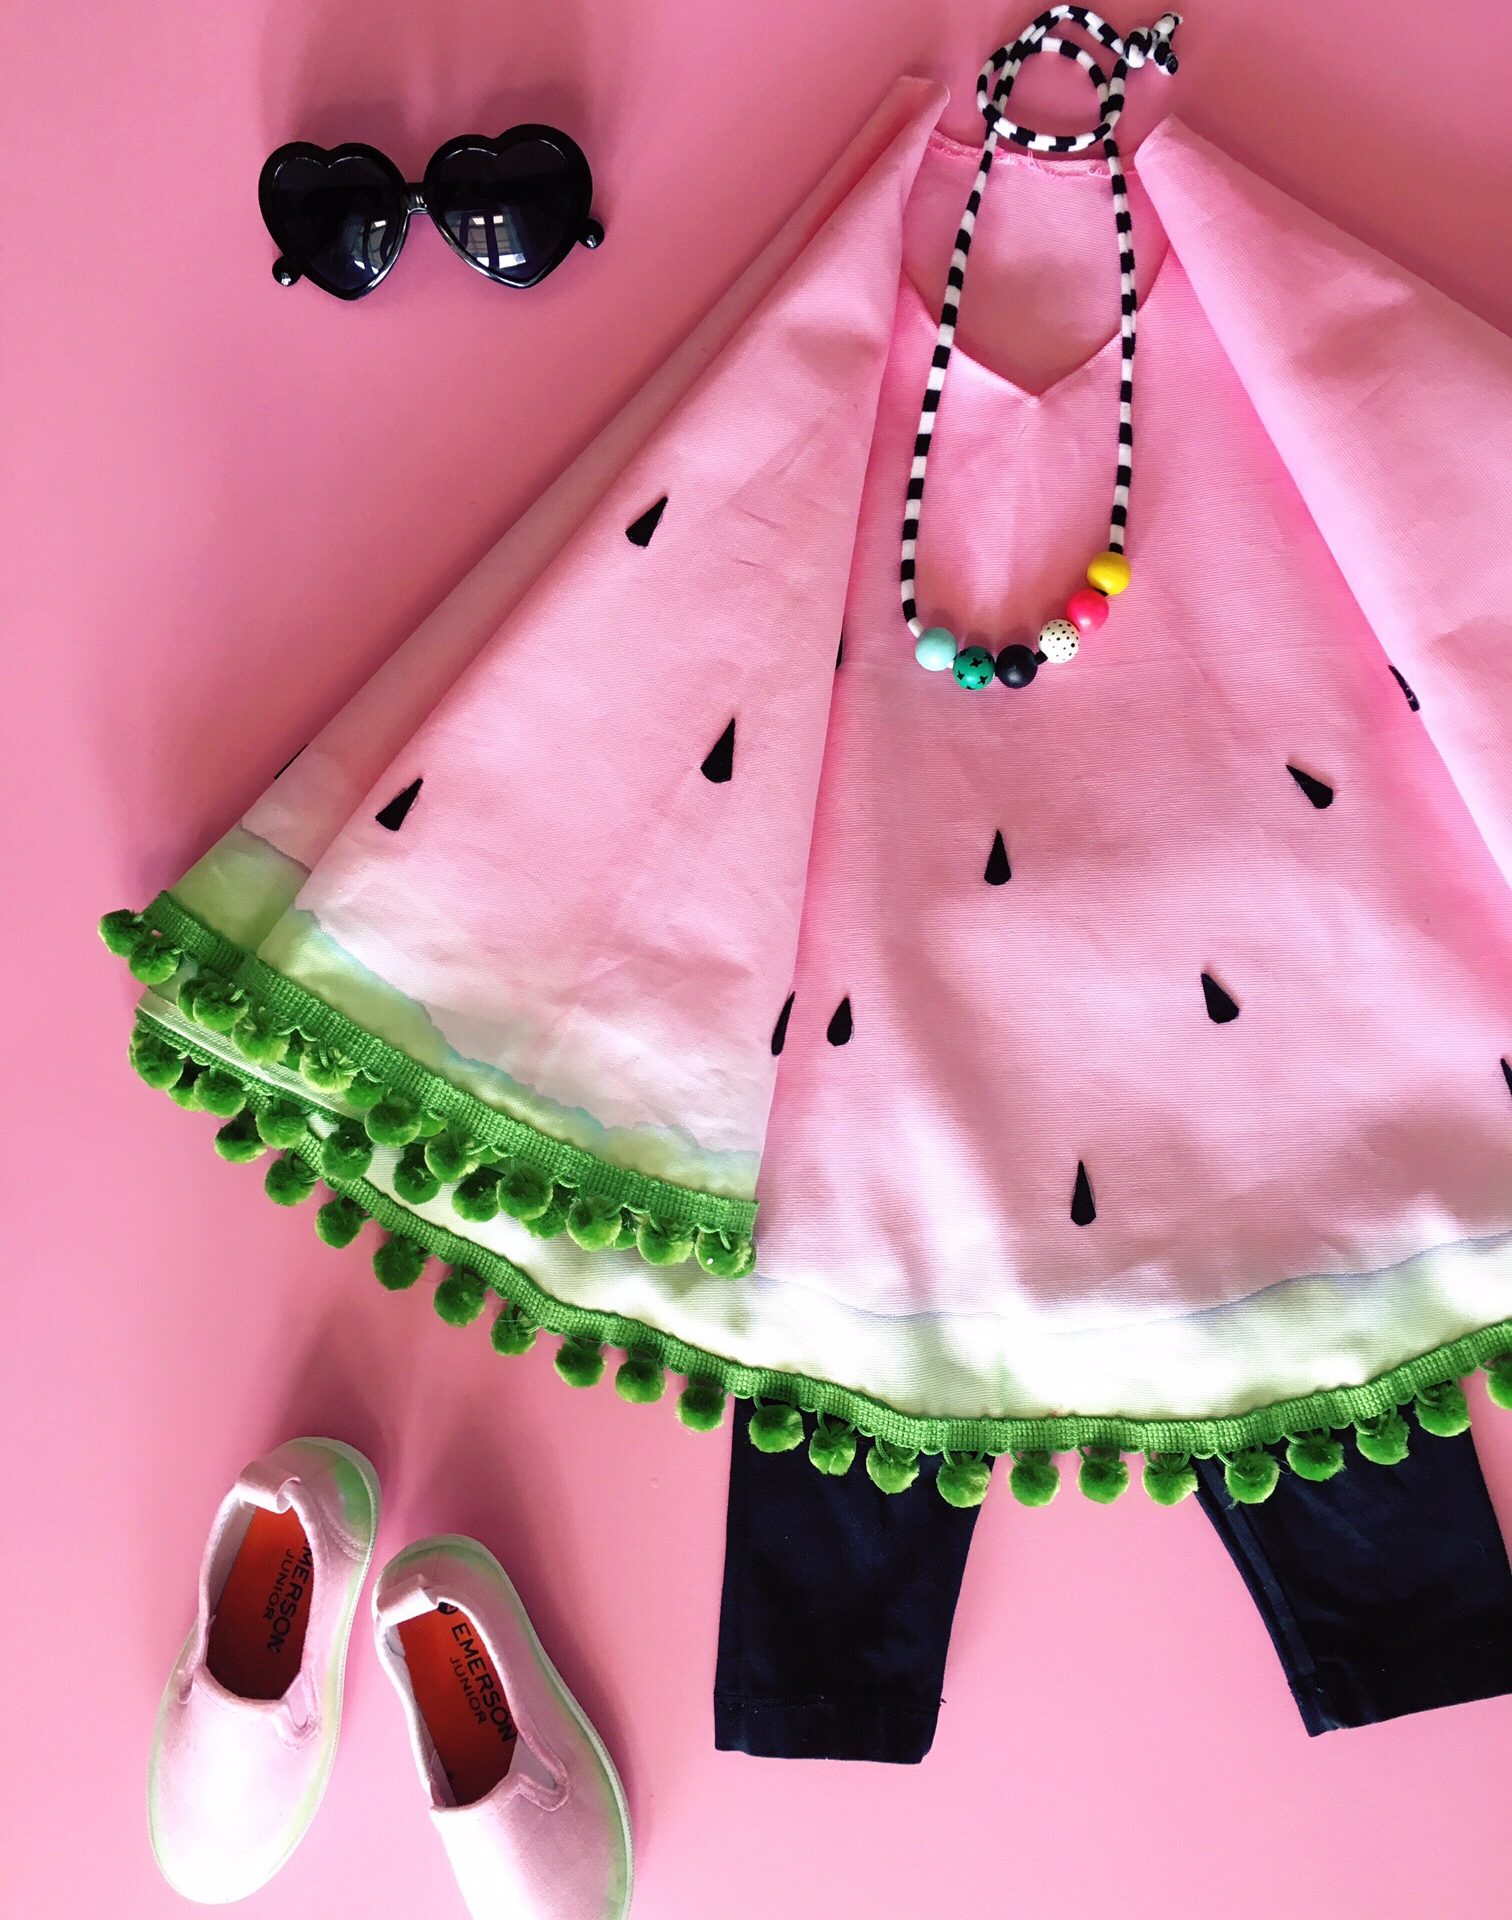
I also used the food colouring to paint Indi’s $5.00 shoes to compete her outfit.

Above: When I dipped the green, it did not soak entirely evenly, but once completely dry, I then used a basic paintbrush to add a little more green in the uneven sections.
Depending on the season, you can layer this over a long sleeve tee and leggings, or you can just wear it over a singlet and shorts.
Best bit – it makes the perfect little beach throw for over the bathers too! If you have any questions related to this DIY, just comment below and I’ll get right back.
Happy Halloweening!
Love ness X


Such a fabulous idea! What a clever Mummy!
Thanks Amy X
This is awesome!
Must try the food colouring dye technique-you make everything look so easy ?? xx
Thanks Kayleigh X